In this “About…” article, we will explore Feature Layer Filtering in ArcGIS Online. It is part of over two dozen enhancements that were made available in the December 2012 updates to ArcGIS Online. Feature Layer Filtering is one of several Map Viewer enhancements that also includes interactive attribute table viewing. Publishing, Sharing, Subscription Management, and the cool Network Analysis API are other key notable items in his release. You can read more about all the new enhancements on the What’s New? page.
The Filtering feature allows you to share data with your end-users and allow them to interactively dissect it through an easy-to-use dialog. As with past “About…” articles, we would like to give you a quick intro into this feature, and show you how it’s done!
- First we will bring up our existing map that we used from a previous article. (We previously published this data and created our transformer removal map through Excel! See the article titled About…Esri Maps for Office.)
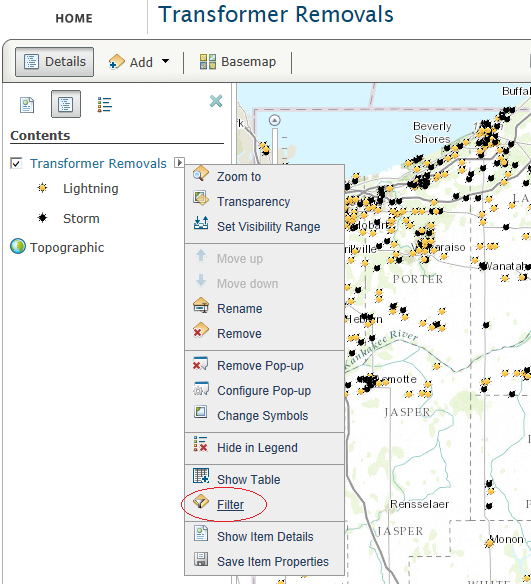
- When we obtain the properties for our “Transformer Removals” layer, we’ll now see that there is an additional option for “Filter”. (As an aside, also check out the “Show Table” option. We won’t get into that new enhancement in this article, but it is noteworthy. You can also access filtering from the “Table Options” menu on the table header.)
- In order to get started, you’ll need to set up a default filter. This is so that when we publish this to an ArcGIS Online web application, the user will be able to use the interactive filtering feature. First choose which attribute you want to filter on. Then set the operation. Finally, either choose a value (that you type in) or a Field (see advanced filtering concepts) or in this case, we will use a unique value that is actually derived from the data.
You will then set up the dialog for prompting the user. In our example the hint will be the two different unique values that are availble from the data. Click “Apply Filter”.
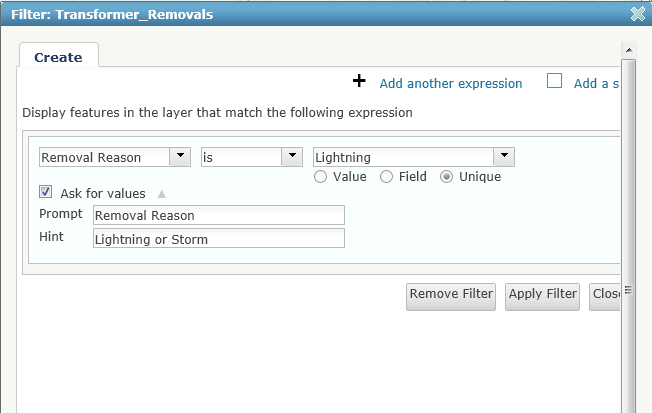
- You will now see that the map has the filter applied.

- Save the map and then share it as a web application – choose the Publish option under the filter template.
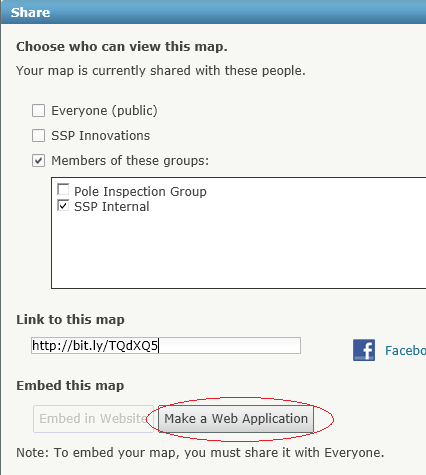
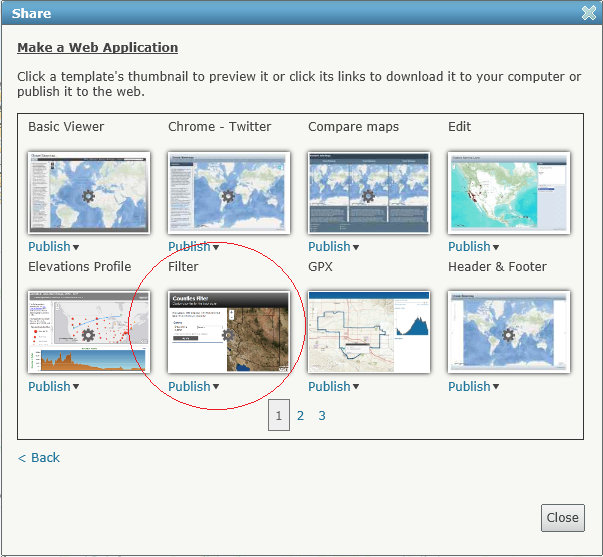
- Add a title and then click “Save & Publish”.
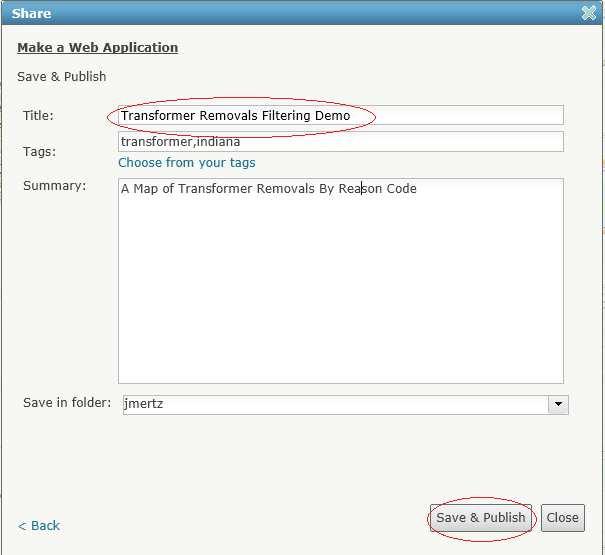
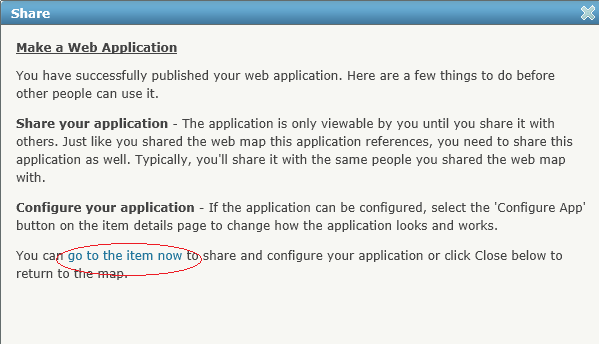
- Click on the link to go to your new web application
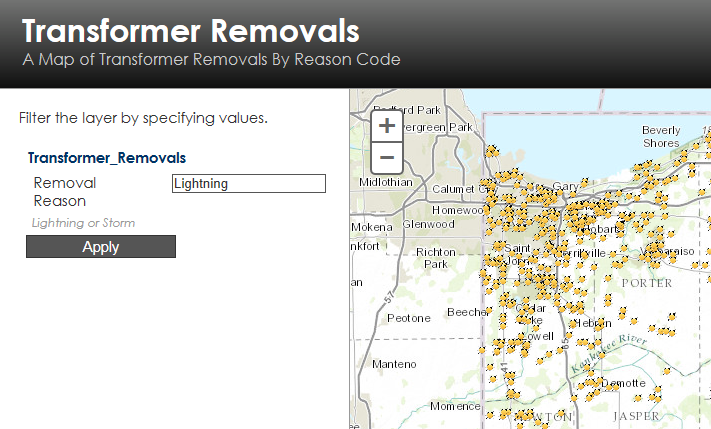
- Open up the web application and test out the filter. The default filter value of “Lightning” is presented.
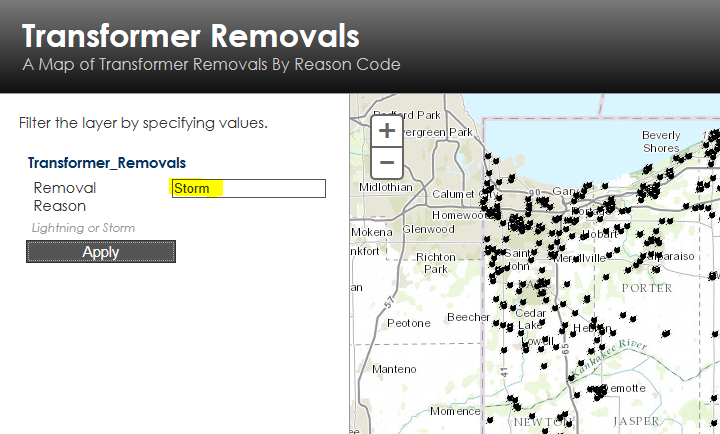
- Change the filter value to “Storm”, click “Apply” and the map changes accordingly. How’s that for easy?
This was a pretty simple example of how the new layer filtering works out of the box. We hope that we stirred up some thoughts on how you can use filtering in your next ArcGIS Online Map and/or Application. For more information about using the filtering expressions and filter sets, visit the online help page here.


What do you think?