In the article Having Fun with Logical Circuit Provisioning, we walked through the steps to provision a new logical circuit.
In Part 2 of this series leading up to Link 2015, we will look at updating an existing circuit. Remember that Skye and Dennise will be demonstrating all this at Link.
Look for both of them at the “Tri-State Logical Circuit/Bandwith Management Solution Update” presentation Thursday, March 5, at 1:00 p.m. in River Birch A.
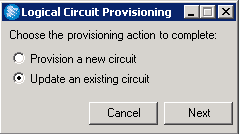
So … just as before, we will open the Logical Circuit Provisioning wizard inside an editing session. But this time we’ll click on the “Update an existing circuit” radio button.
This brings up the Logical Circuit Provisioning Search window.
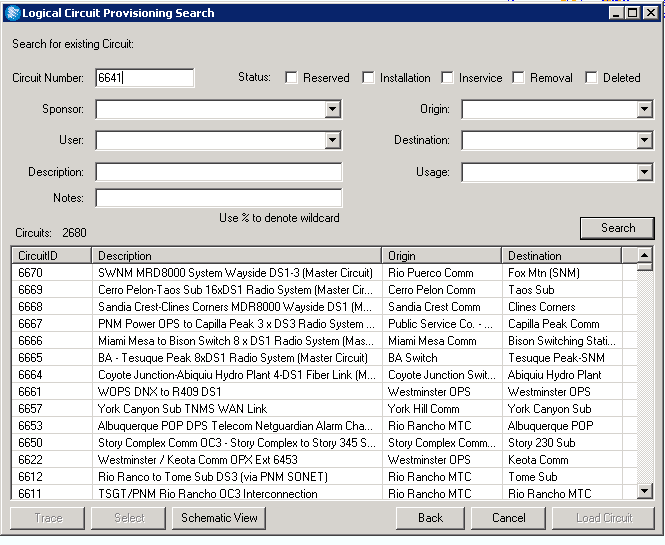
From this window, you can search on a circuit by entering a specific Circuit ID in the Circuit Number field.
If you don’t know the specific Circuit ID, you can always narrow your search by selecting a value from one or more of the “filters” at the top of the screen.
For example, you can select only those circuits with a status of Inservice or you can select circuits associated with a particular sponsor by selecting a value from the Sponsor dropdown.
Once the circuit is selected, you can also trace the circuit on the map, or send its features to the Selection Tab of the Attribute Editor by clicking the appropriate buttons at the bottom of the window.
In the example below, we will reprovision Circuit ID 6641 by clicking the Load Circuit button.

On this window, you will see information about the circuit just selected. Clicking the Next button will bring up the Choose Endpoints window.
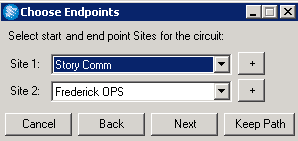
This shows the two sites for the selected circuit. Here your can do two things. First, you can click the Keep Path button to keep the original path for the circuit.
If you desire to keep the original path, the Allocate Circuit window will appear.

Note that a new Circuit ID (6641.01) has been generated and that it is in a Reserved status.
The original Circuit ID (6641) had a status of Installation.
For any status other than Reserved, the original circuit (6641) must be archived and then reprovisioned with a new Circuit ID (6641.01).
If a circuit is in Reserved status AND there have been no Service Requests issued against it, then the original Circuit ID will remain.
From this screen, you can allocate the circuit within each system.
At this point, the steps are identical to what we showed you for provisioning a new circuit.
From the Choose Endpoints window, you can also decide to change a site — that is, not keep the original path of the circuit.
In the example below, a user has change Site 2 from Frederick OPS to Story Complex Comm (SCC).
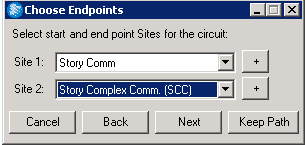
Clicking the Next button brings up the Available Paths form. Here you can see the distance between the sites, the path details, and so forth.
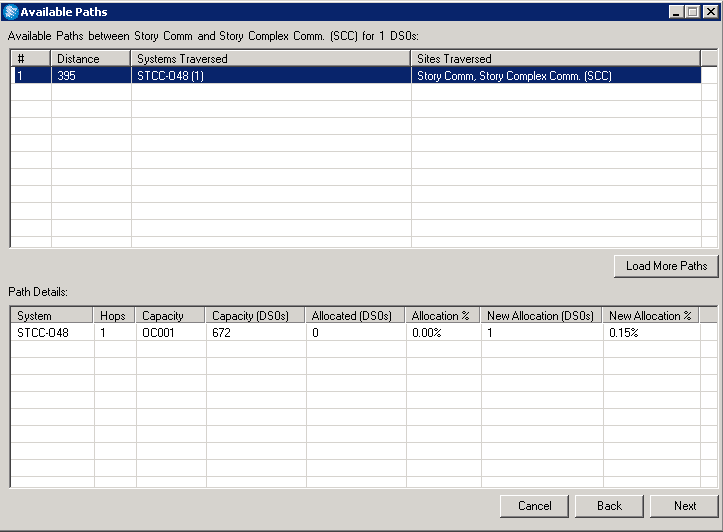
Clicking the Next button will bring up the Allocate Circuit window, as shown below.

Note that the Circuit ID is 6641.01 and that it is in a status of Reserved.
Note also that the Destination site has changed from Frederick OPS to Story Complex Comm (SCC) based on the new path.
From here, you change/update any information about the circuit, including moving the designator to any available location in the hierarchy.
Once all of the designators are assigned to available locations, the Save button becomes activated. Clicking the Save button brings up the following window:
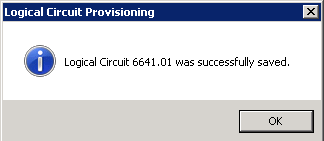
Once again, success! In Part 3 of this series, we will look at some improvements SSP made to the basic functionality — improvements that will allow engineers to assign many designators to a system at once.

What do you think?